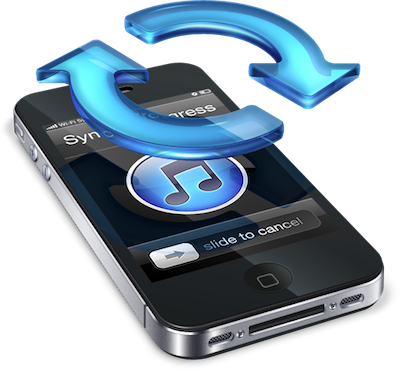
Ready to never plug your iPhone into your computer again to sync? Here’s how. You’ll need an iPhone/iPad running iOS 5 or newer and iTunes 10.5 or newer.
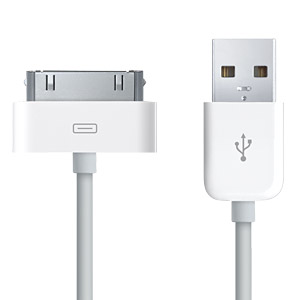
1. For one last time, plug your iPhone into iTunes:
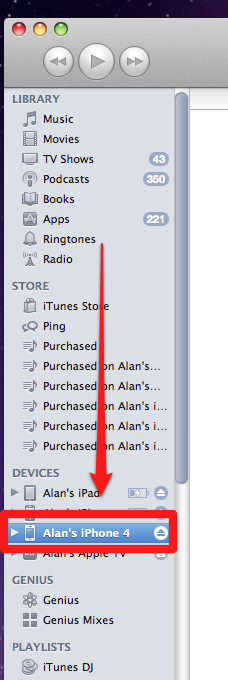
2. Click on your iPhone/iPad in the left sidebar:
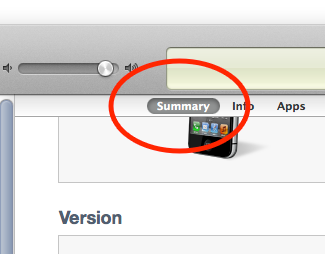
3. Select the Summary tab at the top of iTunes:
4. Check the box that says Sync with this iPhone (iPad) over Wi-Fi:
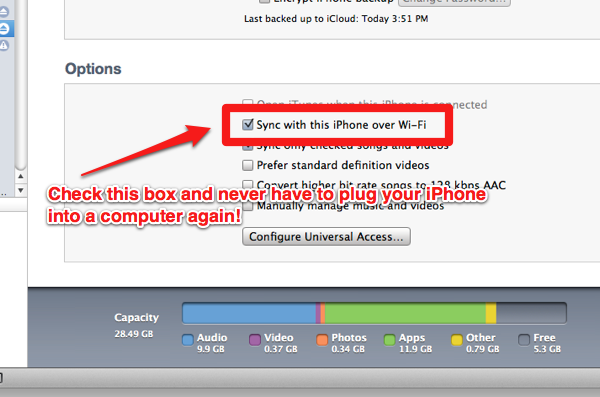
Now unplug your iPhone/iPad, then look at the left sidebar in iTunes. It will still show your device connected to iTunes even though it’s not plugged in! Pretty cool. From here, there are two ways to sync.
5. How to automatically sync:
Important: iTunes needs to be open on your computer for automatic synching to work. Simply plug in your iPhone/iPad into a power source and it will automatically begin to sync.
6. How to manually sync (steps 7-11):
A manual sync is the only true wireless sync, as it does not require the iPhone/iPad to be plugged into a power source. It does, however, require you to be on the same Wi-Fi network as the computer with iTunes.
7. Open Settings:
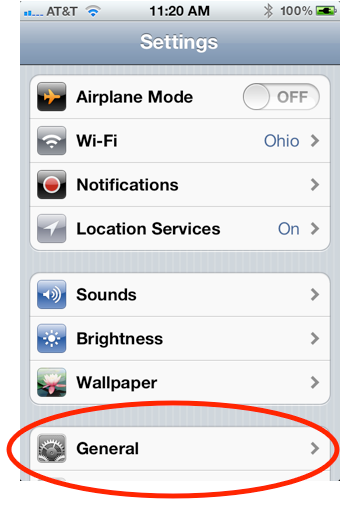
8. Tap General:
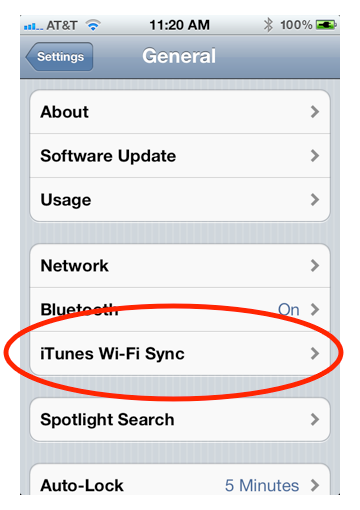
9. Tap iTunes Wi-Fi Sync:
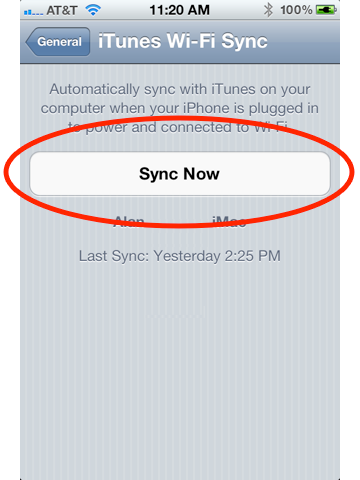
10. Tap Sync Now:
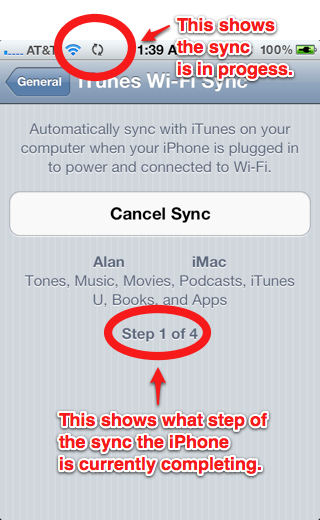
11. Wait for sync to finish:
Notes and Troubleshooting:
- Syncing with Wi-Fi is slower than syncing with a USB cable.
- If, while synching your iPhone/iPad over Wi-Fi, you connect the iPhone/iPad to your computer via a USB cable, the sync will continue uninterrupted via the cable. However, if you start syncing using a cable, then disconnect the cable, syncing will stop and will not continue over Wi-Fi.
- Having problems getting Wi-Fi syncing to work? Check out Apple’s official troubleshooting document for Wi-Fi Syncing.
- Still can’t get automatic Wi-Fi sync to work? Try out my alternate solution.


