Photo albums are a new feature introduced in iOS 5. Sorting your photos into albums is not only a way to give order to the chaos that is the Photos app, but it also makes it easier to show off all the pictures of your new baby, latest vacation, or new car.
Another cool feature of albums is slideshows. With one tap, you can also easily play the album as a slideshow and use any music on your iPhone as background music.
Below are step-by-step instructions on how to organize your photos in albums on the iPhone (works for the iPad too).
How to Sort Photos Into Albums on the iPhone:
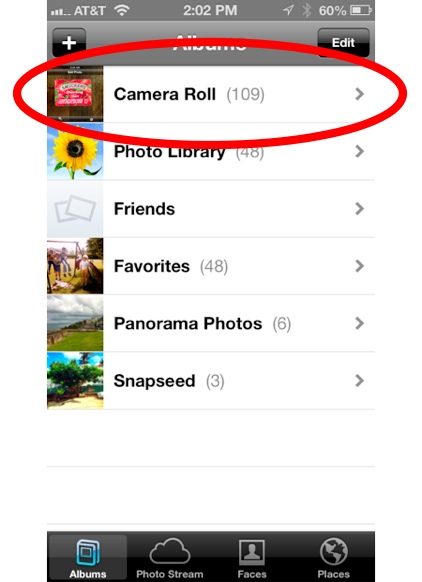
1. Open the Photos app:

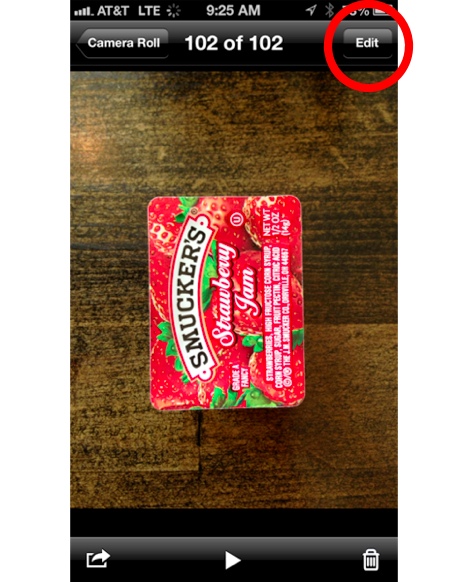
2. Tap Edit in the top right corner:

3. Tap Add in the top left corner:

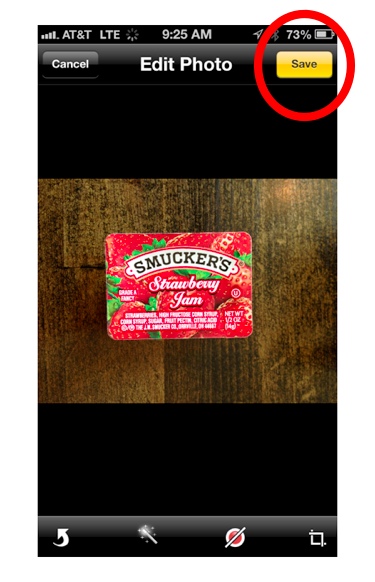
4. Enter in a name for your album, then tap Save:

5. Tap the photos you want to place in the album, a blue and white checkmark will appear when you select them. Note that photos can be placed into more than one album. Tap Album in the top left to navigate to other albums and select the photos within:

6. Tap Done in the top right corner:

And that’s it, you’ve created a photo album.
Extra Tip: How to Move a Photo Into an Existing Album
Let’s say you’ve already have created an album called Friends, and you want to move a new picture into that album. Here’s how (hat tip to Michelle in the comments). Important: note that this only works for albums created on the iPhone. If you created an album on your computer and synced it to the iPhone, the instructions below won’t work.
1. In the Camera Roll or in any album, tap the arrow in the top right corner:

2. Tap the photo(s) you want to move into an album, then tap Add To:

3. Tap Add to Existing Album:

4. Tap the album you want to move the photo(s) into:

And that’s it.
Notes:
- Deleting an album does not delete the photos inside. They photos will stay on your iPhone even though the album has been deleted. Think of it as throwing away the folder but keeping the images.
- Photo albums created on the iPhone don’t currently sync back to iTunes/your computer. Here’s hoping Apple fixes that in the future.
- If you own an AppleTV, you can wirelessly play albums as slideshows from your iPhone to your TV via the built-in AirPlay feature. And it’s easy—just a few taps.