If you need to rotate and save a photo on the iPhone so that it’s in the correct orientation, you can do so inside the default Photos app, without using a third-party app. In fact, the Photos app includes a few basic photo editing tools, like crop, fix red-eye, auto-enhance, and rotate. Below are step-by-step instructions on how to use the rotate tool in the Photos app.
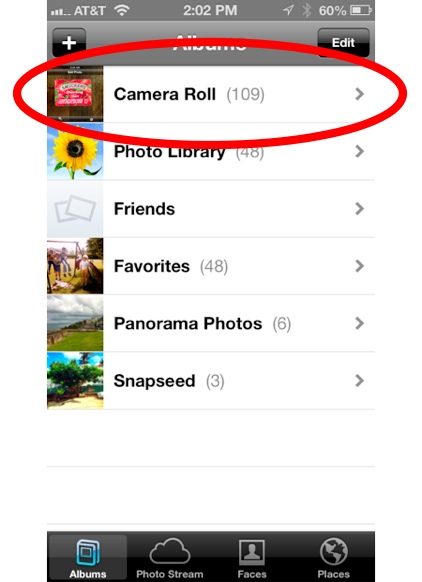
1. Open the Photos app:
2. Find the photo you want to rotate (it will likely still be in the Camera Roll album if you took it recently):
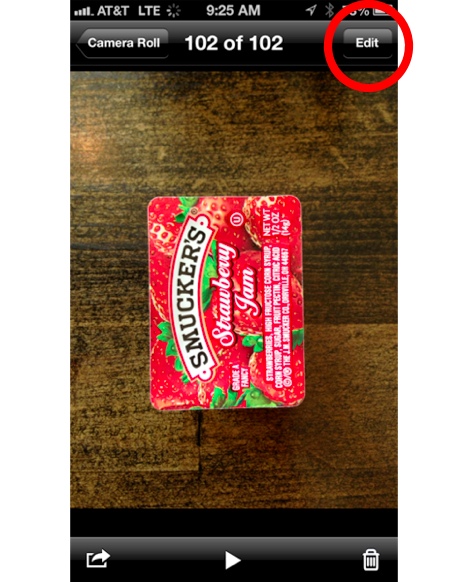
3. Tap Edit in the top right corner (if you don’t see Edit, tap the screen once to make menu options appear):
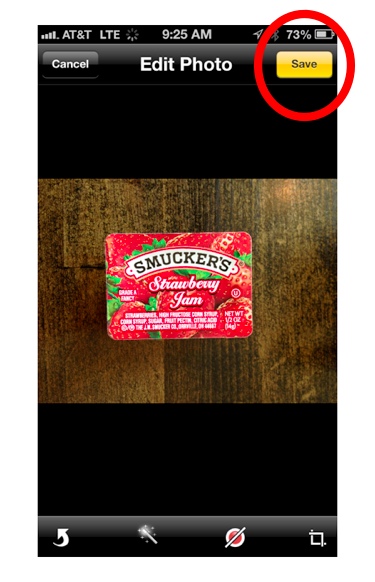
4. Tap the curved arrow in the bottom left of the screen to rotate the photo:
5. Tap Save to save the changes to the photo:
And that’s it, you’ve rotated the photo and saved the changes. Now, whenever you, or anyone else you send the picture to, views the photo, it will be in that orientation.