
The new panorama function in the iPhone’s Camera app is an incredibly useful feature that allows you to easily capture beautiful wide-shot vistas and landscapes. It’s a welcome addition to the Camera app, as previous to iOS 6, iPhone users had to rely on third-party apps to create panoramas. But no longer. Below are instructions for how to take panoramas using the iPhone’s Camera app. Also see the end of this article for extra panorama tips. Please note that panorama is only available on the iPhone 4S or newer iPhones.
Quick Instructions:
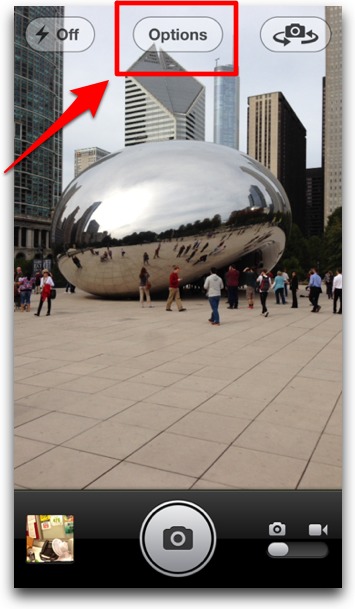
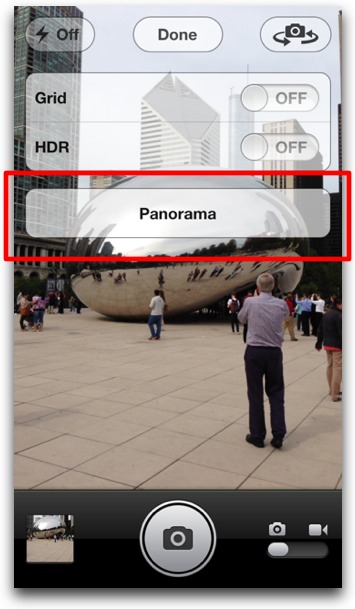
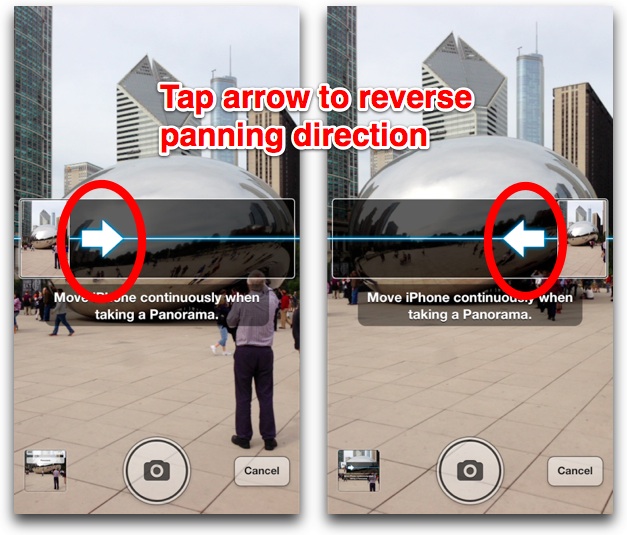
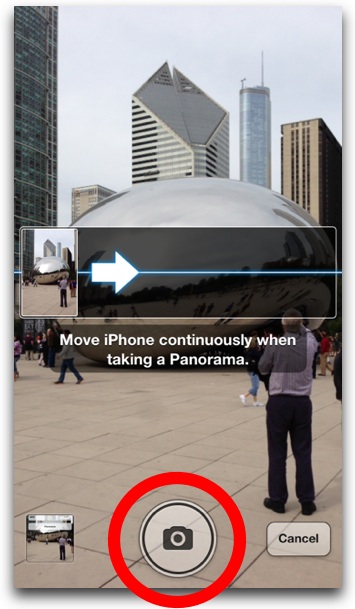
In the Camera app, tap Options > Panorama, then tap the camera icon to begin creating the panorama. Tap Done to stop at any point. To reverse the panning direction, tap the arrow.
Step-by-Step Visual Instructions:
1. Open the Camera app:
2. Tap Options:
3. Tap Panorama:
4. If you’d like, tap the arrow to reverse the panning direction (right to left, or left to right):
5. Tap the camera icon at the bottom of the screen to begin:
6. Tap Done at any point to finish the photo:
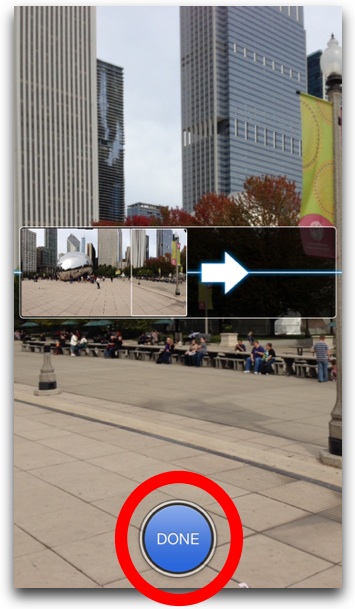
And that’s it, you’ve created a panorama photo. Read on for some extra tips.
Extra tips:
- You don’t have to fill the entire panorama box on the screen—you can stop at anytime during the panorama process by tapping Done. This, in effect, gives the iPhone a wide lens of any size you want.
- If you hold the iPhone in landscape orientation and move it up or down, you can use panorama to shoot very tall buildings.
- If your resulting panorama photos has rough edges, you can square them off using the crop tool right in the Camera app. To access the crop tool, tap the photo thumbnail in the bottom left corner. This will open the Photo Stream. When viewing the panorama in the Photo Stream, tap Edit in the top right corner, then tap the crop tool (it’s on the far right). Drag the cropping box to fine tune your edges, then tap Crop.


If you’d like to print your panorama really big, check out http://pantastic.co!